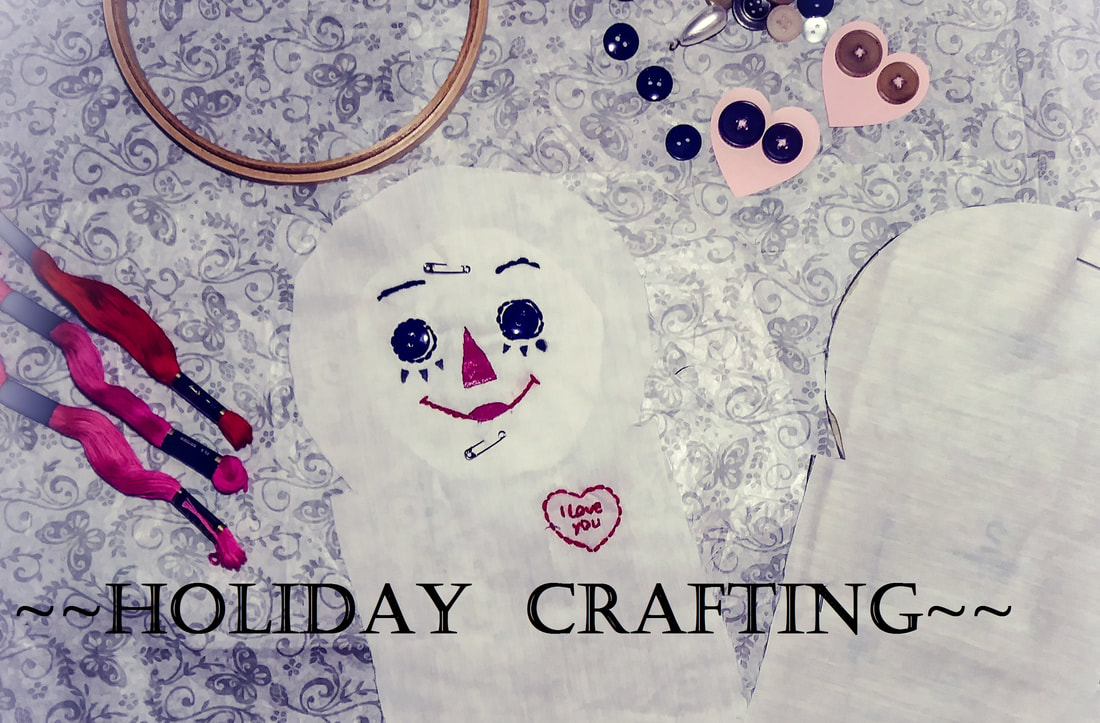
Our adventures with Raggedy Ann and Andy continue. Our Raggedy Ann doll is coming along quite smoothly, with a few hiccups here and there. The upper torso is complete. Only a few more steps and she'll be done. We'll share with you a few of the issues we ran into and a few tips we figured out along the way.
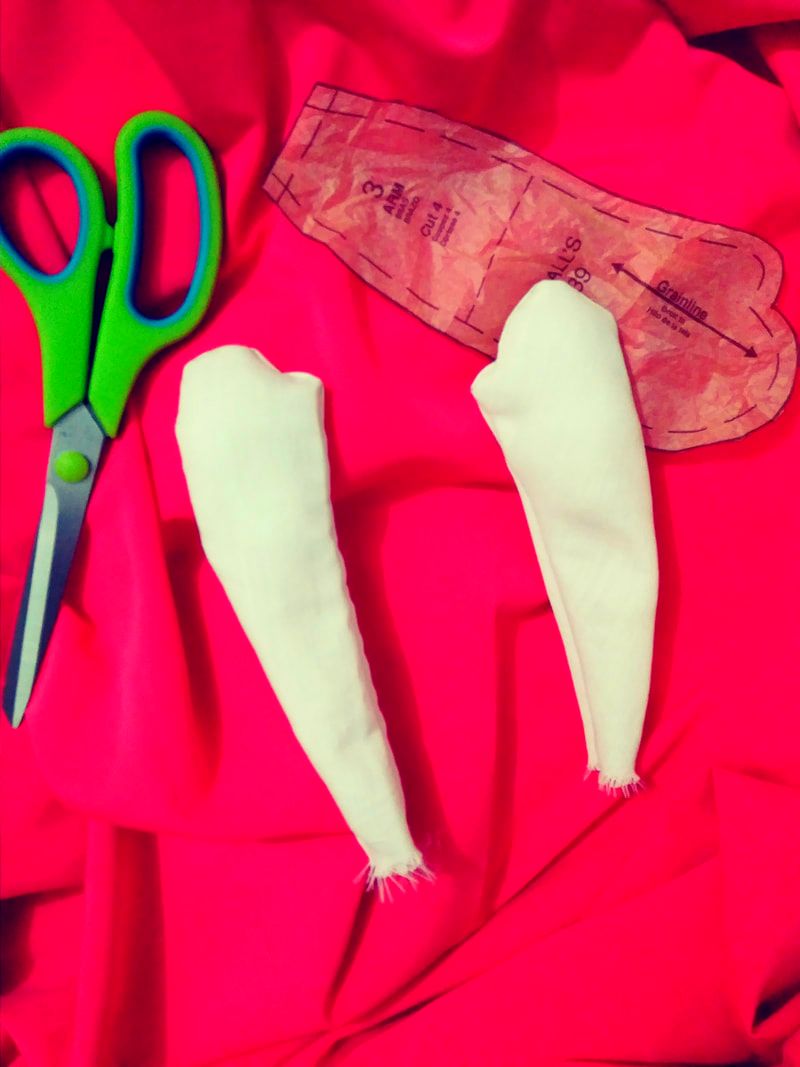
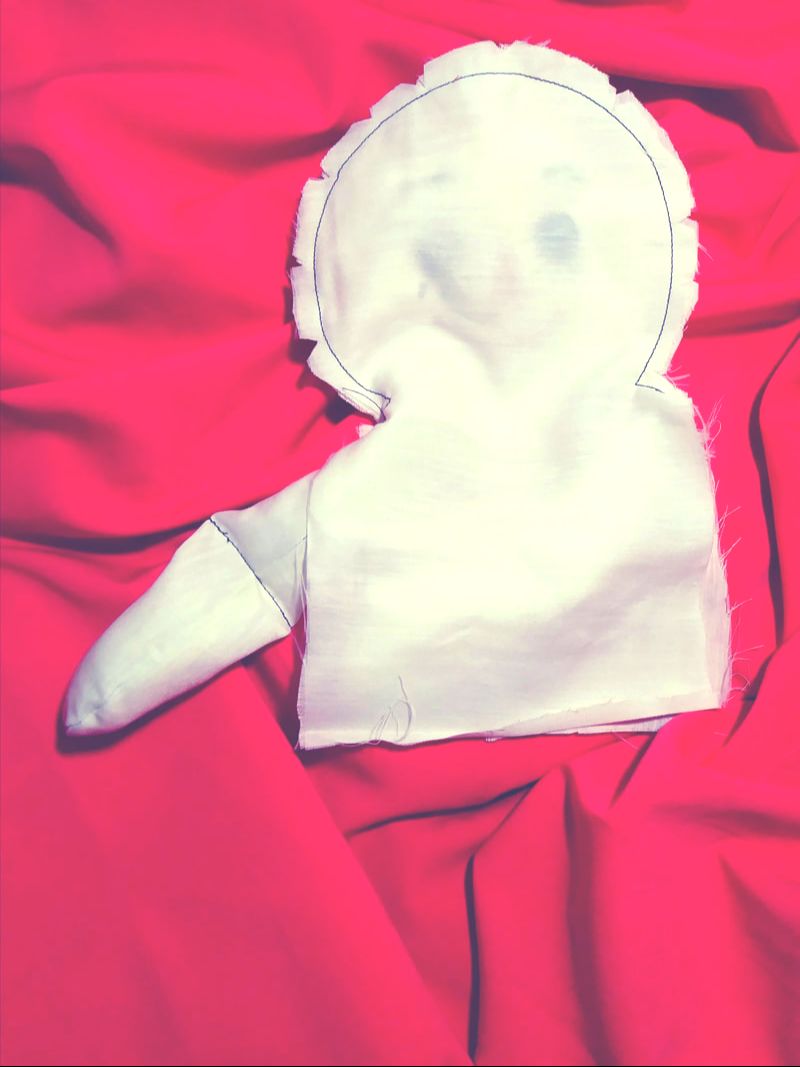
After cutting out the front and back body pieces and painting the face, the next step was to cut out the arm pieces and attach them to the body.
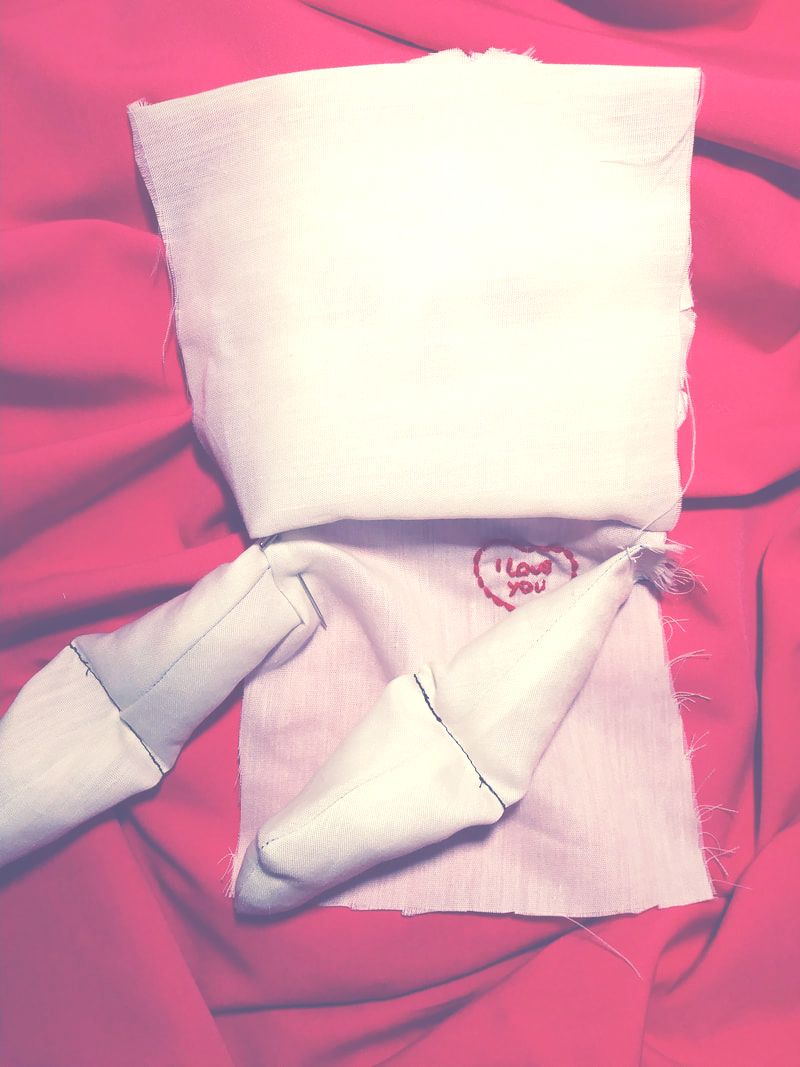
Simple enough right? Of course not. Wouldn't ya know, we ran into a few issues and had to use our handy seam ripper and start over a few times. First off, we forgot to change the thread so that it coordinates with the fabric, so we ended up with the elbows stitched with black thread instead of white. Not feeling the need to correct it, we simply left it as is. Second, the pattern instructs to attach the arms such that the thumb is towards the front. We pinned them on, began the process of stitching the side seams together but somehow one side ended up with the thumbs pointing up, the other down. Turns out the pattern does not instruct to turn the body inside out before stitching the side seam. Not cool, but we eventually made it work.
 |  |  |
That said and done, our tips for anyone attempting to make this pattern:
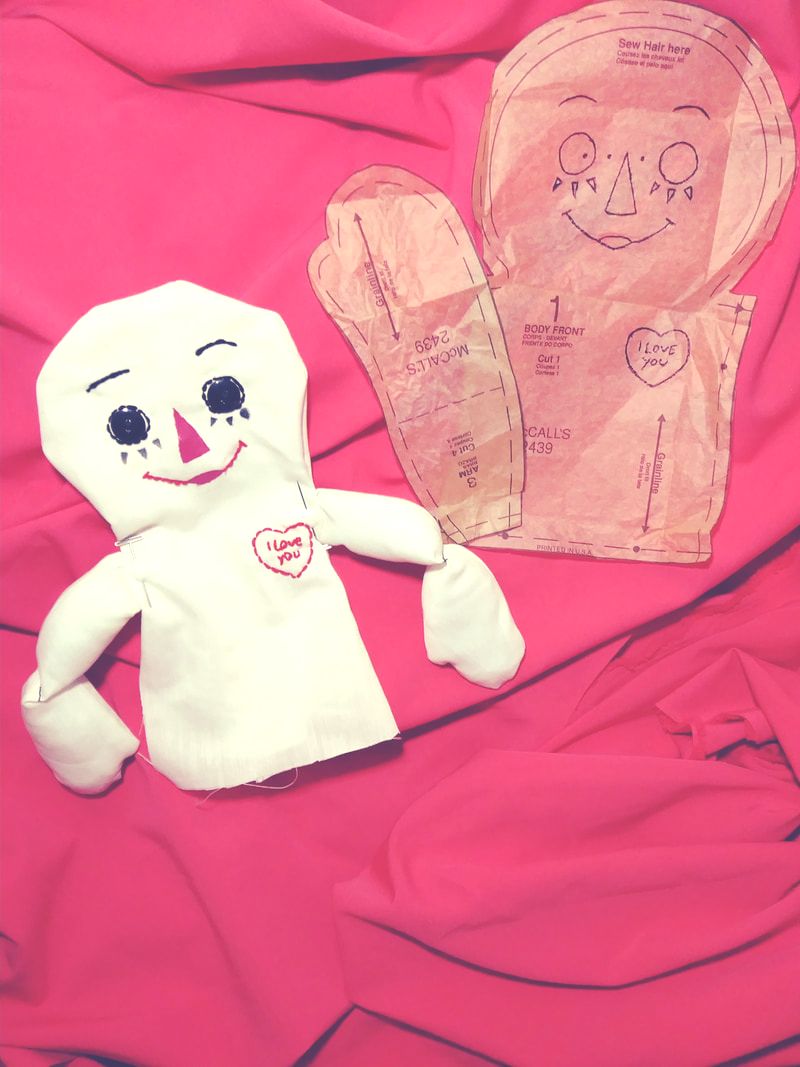
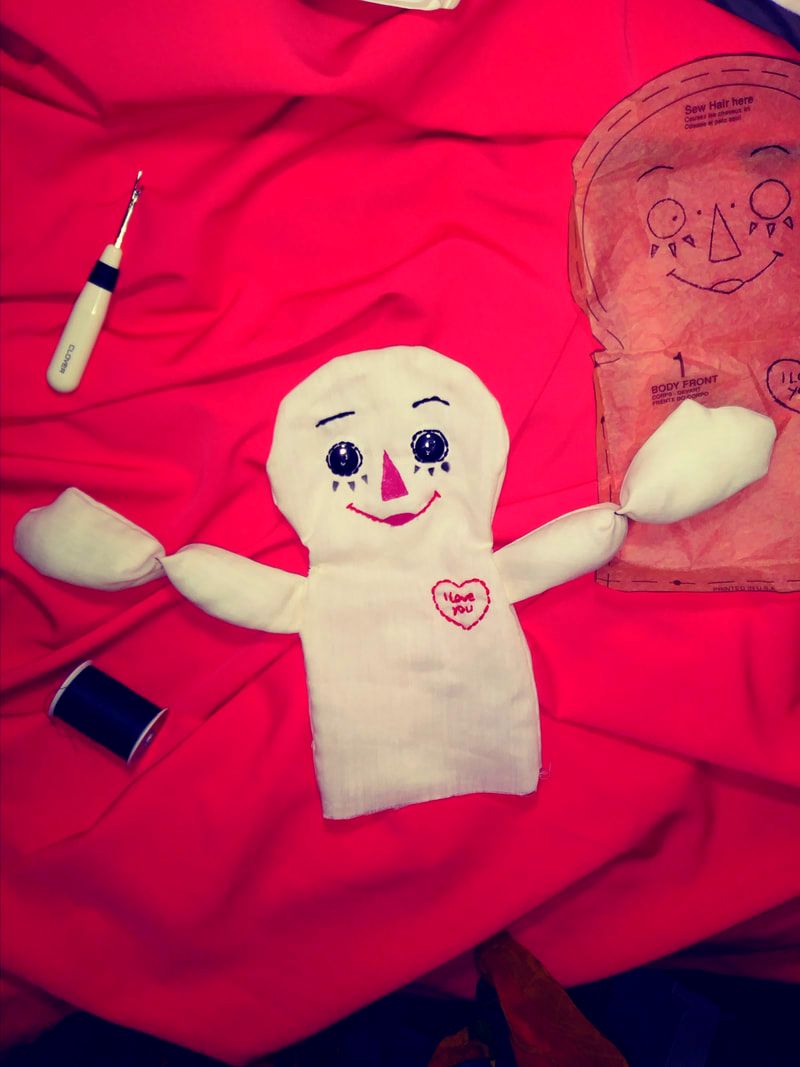
That concludes the upper torso of our Raggedy Ann doll. Here is the final look. Next up, attaching the legs. Stay tuned for the next adventure!
- Be sure to coordinate threads and change your thread before beginning the project
- When attaching the arms, work on one arm at a time. Don't try to do them both at the same time.
- Take care in ensuring the thumbs are pointing upward or anatomically correct.
- After stitching the arm to the front, turn the body inside out before stitching the side seams together. This is not specifically stated in the pattern instructions.
That concludes the upper torso of our Raggedy Ann doll. Here is the final look. Next up, attaching the legs. Stay tuned for the next adventure!


 RSS Feed